Media Minute
ThruVision 360 Walkthrough: See Behind Finished Walls
See how a ThruVision 360 tour helps owners revisit wiring, plumbing, framing, and other systems after construction.

Why it matters
ThruVision 360 Walkthrough: See Behind Finished Walls
See how a ThruVision 360 tour helps owners revisit wiring, plumbing, framing, and other systems after construction.
This Realiant Media Minute gives agents, property owners, or building
professionals a concise explanation they can use when planning media or
working with Realiant Photography.
A visual record is most useful when people understand how to navigate it. This walkthrough shows the kind of behind-the-wall context the finished product preserves.
The goal is to make the product, process, and practical value easier to
understand before the next project.
Watch or read
Watch the episode
Watch the 7:50 episode for the complete explanation and examples.
Prefer to read? Open the complete read-along below the video.
Read along with the video
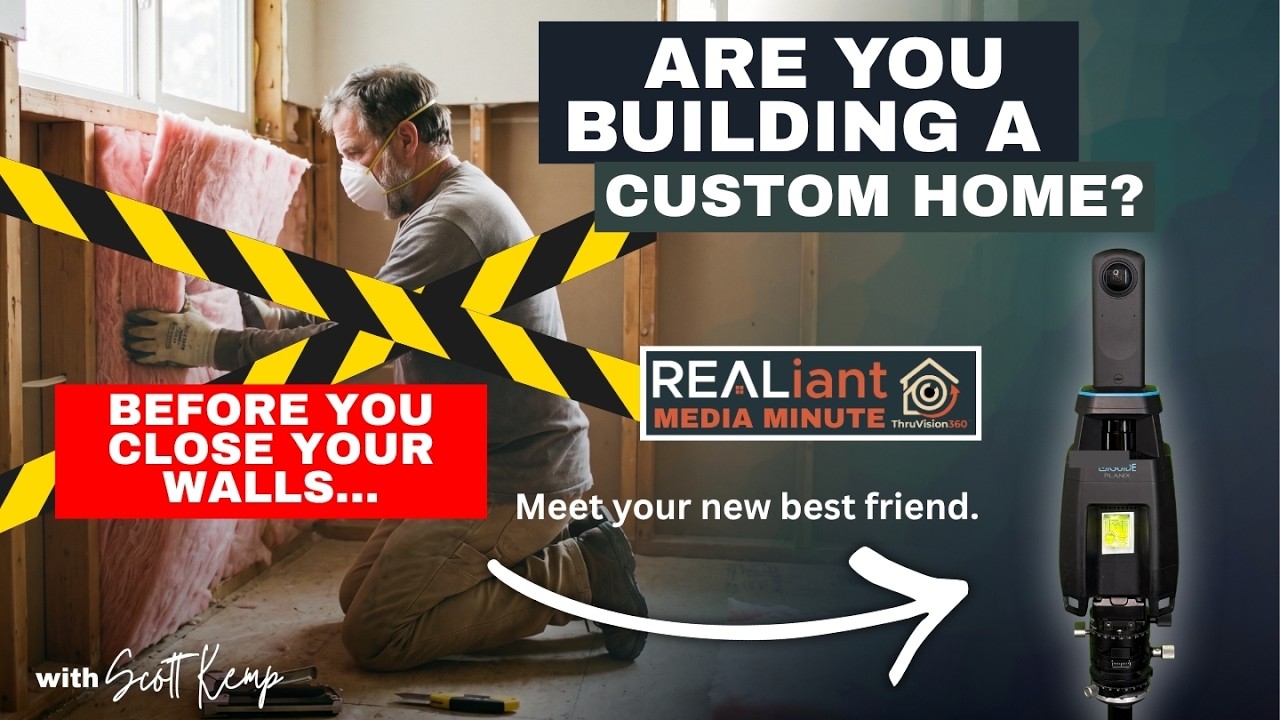
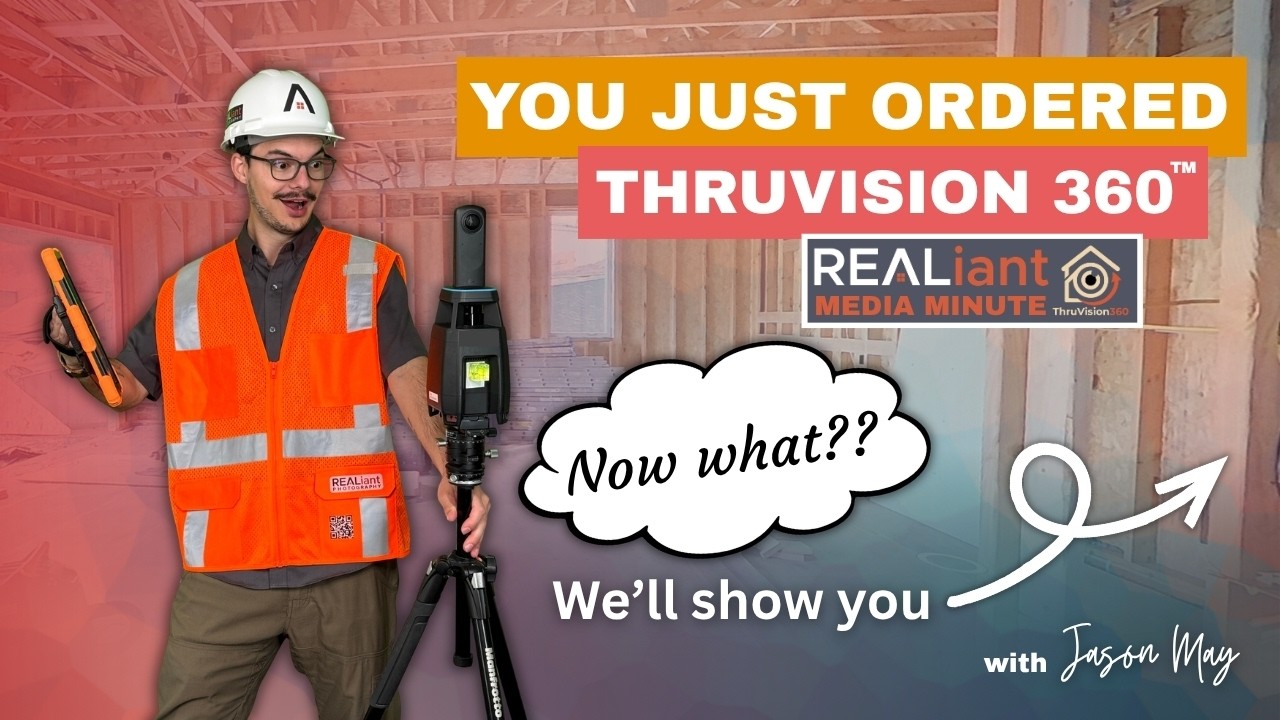
Hi, I’m Scott Kemp, owner of Realiant Photography, and this is Realiant Media Minute. Today we’re going to talk about our ThruVision 360 product, how to use it, how to order it, and that whole process. ThruVision 360 is like having X-ray vision for your home. You get to see what’s in the walls before the insulation and sheetrock go up.
Let’s dive right in and look at what you get when you order a ThruVision 360. Here I’m looking at a beautiful new custom home in Corvallis, Oregon, of about 6,000 square feet. I can click anywhere on this floor plan and see all the way around me. I can look up, look down, and spin all the way around.
Every photo is a 360. That’s why we call it ThruVision 360. Let’s say I want to drop into this office and look at the fireplace. Maybe we want to see where the chimney is routed.
That is exactly what this is for. We try to cover every stud and joist so you can see both sides, follow wiring upward, and see what is above, including the can lights. It’s just super cool because there’s so many times as a custom home builder that you’re going to want to modify things. I built a beautiful home in Alaska and it was like four stories.
It was just amazing home, off-grid, in the wilderness. And it took me years to build. And I knew that I wanted to see what was behind those walls later because I personally ran like seven miles of low voltage wiring through those studs in and out of them up and down floors. It was crazy.
And I wanted those pictures. What I did was I took a video camera and I literally went up and down every stud in that entire building. And I got hours and hours of footage. And yes, I did take coverage of it, but it was hard to use.
It was very hard to find the room because if you’ve built a custom home, you know the pictures all look the same. And if you’re looking at a picture like this, all you’re seeing is some studs and trying to figure out where that is when you’re looking at video. It’s very hard to do.
So I wish I had this product back when I built that home in Alaska because here’s the floor plan. I can just click around. I can go right where I need to go. I have my context.
All the photos are indexed. So this particular home has two floors. It’s got a basement as well. So we can navigate between floors like this.
And this is the basement. And kind of an interesting fact here, when I went to shoot this home, it was really dark because, you know, the construction guys, they have a light bulb in the corner like this little light and a couple of windows with lights showing through. It was not as bright as it looks here. It was very dark.
And our cameras have no problem doing that. They just use a longer exposure time and you can still see what’s behind every stud and the joists. So super cool. So don’t worry about it being dark.
Let’s talk about when you would want to order this product. You want it right before the insulation goes in. Once the insulation goes in, you obviously start to hide things. You hide the wires, you hide the plumbing, the gas lines, all that sort of thing.
So before the insulation goes in, you want to schedule with us to come take these photos. After the insulation comes the sheetrock. So the timing is critical. Don’t wait till last day and call us and say we need you to come shoot.
That really doesn’t work for us. We need at least a few days notice, sometimes up to a week notice during our busy season. So just get in front of that schedule with your contractor or if you are the contractor, you know, work it so that we can be in there right at the right time.
And it’s super important to have the walls clean, like this particular build doesn’t have plywood laying up against the walls because if we can’t, if the camera can’t see the walls, then of course the photos aren’t going to show what’s behind them.
So it’s super critical that it’s kind of cleaned up and so we can see everything and we can not injure ourselves getting to the different parts of the house. So that’s important. How you would order this, check out this link below. It’s going to get you right to our ordering site and you will see the photographer there that’s going to be there.
You will see their schedule. You can find the time slot that works. And if you just can’t find it and you got to get us in, give us a call and we will check whether another scheduling option is available.
And another thing that I love about the ThruVision 360 is you can actually do measurements on the images and this isn’t the blueprint because the blueprints aren’t going to show you where all the wires are and things like that.
But carpenters and electricians and plumbers, they just kind of put things in where they need them and they’re going to route wires where they are and where they want them to go to make it the most efficient to get back to the distribution panels or whatever you have there. And so you don’t know where they are. So this measuring tool is great.
Let’s just do a sample measurement here. I’m going, I want to kind of know where this box was. Maybe they covered it up. Maybe there’s a wire there that we’re trying to find.
So this is just a little test case here. But all I need to do is just kind of draw against the wall that I want to measure this diagonal here. I’m not sure what was behind there and that’s interesting. So we’re going to double click on the corner.
We double click on the box and we got two feet eight inches. How cool is that? It’s just amazing. So that measurement, you could be doing it for anything.
If you want to figure out how far, you know, maybe you bury a wire and with some sheet rock and you need to find out where that is, you can locate the wire, you can measure off a corner and you can say it’s 15 feet six inches away from this corner. And that’s where you need to dig it out. So that is super, super cool.
And of course, the measuring tool is approximate and is not a substitute for construction-grade measurements. So just keep that in mind. But what, what a great feature. I love that.
So what you’re going to get after about two days after we shoot, you’re going to get a deliverable and it is a zip file, as well as an online viewer. So the online viewer will not last forever. That’s what the zip files for. You download it to your computer and it is yours to keep forever.
No licensing costs, no subscription costs. It is just yours. In fact, the tour I’m running on this laptop is running from my hard drive, so you can see that it works. It is then up to you to preserve the files.
Put them on Google Drive or in a couple of different places so you don’t lose them. When the home changes hands, the documentation can help a future buyer understand what is behind the walls and learn about the construction. I would love to have this product for the home where we live now because we didn’t build it. It was built in 1968 and has been remodeled several times.
I have no idea what’s behind the walls. And it’s so frustrating, especially after having at least done the video for mine. And I know it was behind there. I have no idea what’s behind mine now.
And I wish I did. It can be little things like you want to mount a TV and put some blocking in. Maybe you want to retrofit a fireplace in. There’s just so many reasons.
ADUs are very popular in Oregon now. They’ve kind of, you know, relaxed some of the laws on that. So how do you tap in and where can you tap wires in? Where can you avoid, you know, going through a wall that has major electrical and major plumbing feeds going through them?
You want to avoid those. So it’s just a tremendous value. You’re going to get these files. You’re going to download them and you’re going to use them.
I’m super excited to come shoot your new custom home. Or if you’re a builder, offer this as an upsell to your clients. It is cheap. We’re looking at it anywhere from, let’s just say, round numbers about 12 cents a square foot.
It is somewhat dependent on the size of the home. The bigger that is, the cheaper it gets per square foot. It’s cheap compared to everything else you’re adding to your home. I mean, and, you know, you’re spending hundreds and hundreds of dollars per square foot for the home.
An extra 12 cents isn’t going to break the budget. So go to our website, add this product. We’d love to give you X-ray vision of your home for years to come in the future. Scott Kemp with Realiant Photography.
Key takeaways
What to know
- Navigate the captured structure room by room.
- Use the record before mounting, remodeling, or repairing.
- Retain the tour for future owners and contractors.
For your next listing
Put the idea to work
- Open the tour on a larger screen for detailed review.
- Locate the area before beginning work on a finished wall.
- Keep a durable backup with the property records.
Confirm current products, package contents, pricing, and scheduling details
when placing an order.
Keep watching
More short ideas for Realtors
Realiant Media Minute answers common questions and explains Realiant’s
products and processes. Visit the playlist for more episodes, or start an
order when you are ready to plan media for a listing or project.
Episode source: Realiant Media Minute, April 9, 2026. Confirm current pricing, packages, scheduling, delivery timing, hosting, products, and deliverables when ordering.
Keep learning
Related Media Minutes