
Property preparation
How to Prepare a Home for Real Estate Photography
Help your seller get ready for photo day: what to clear, clean and straighten inside and out, from lights on and blinds open to moving cars for drone shots.
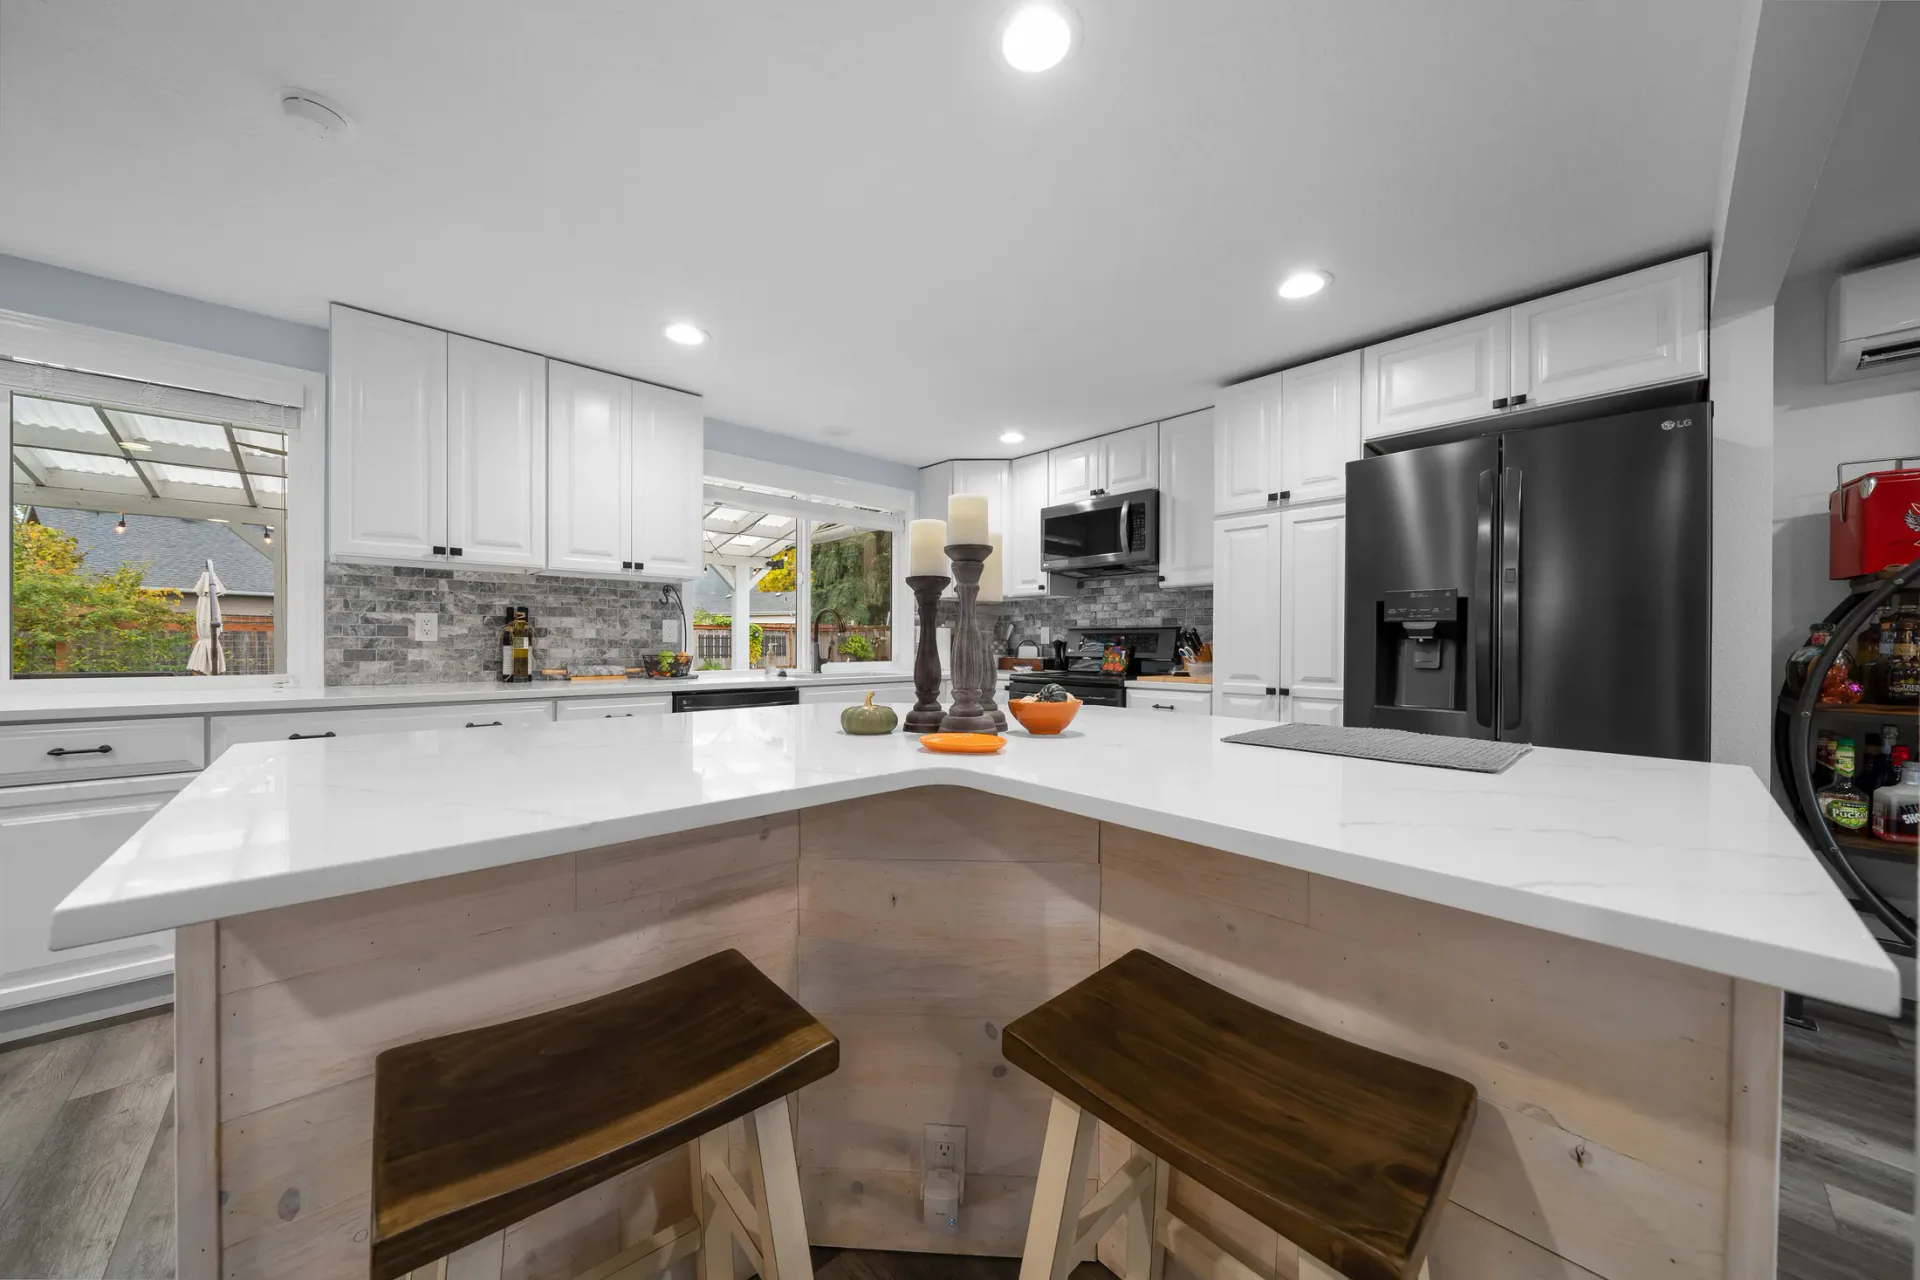
Preparation Protects the Photographer’s Time for Composition
A successful listing shoot starts before the camera comes out. Clearing surfaces, opening blinds, checking lights, and preparing the exterior help the photographer concentrate on composition instead of moving household items.
Small tasks become visible in every frame.
Clear surfaces, working lights, open blinds, and an exterior walkthrough help the appointment stay focused on photographing the home.
Watch the Photo-Day Preparation Guide
The walkthrough explains what a photographer can reasonably adjust during an appointment and what the agent or seller should complete beforehand. It uses an owner-occupied home to show that strong preparation does not require an empty or professionally staged property.
Behind the lens
See the Idea in the Finished Media
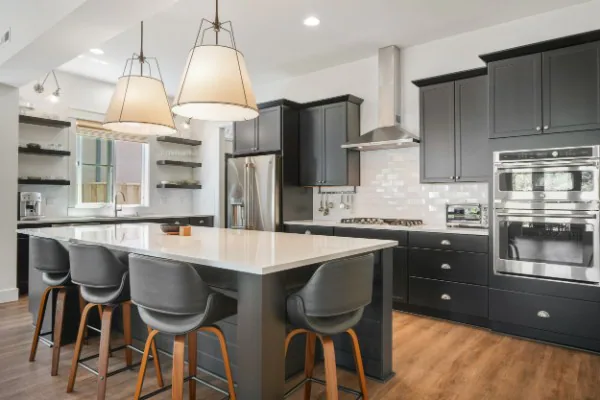
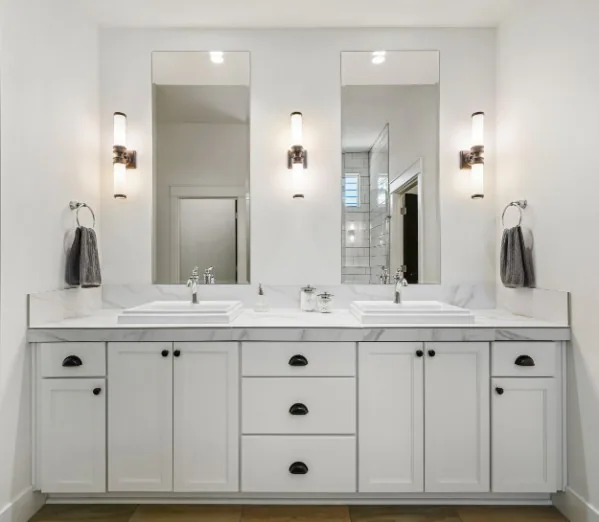
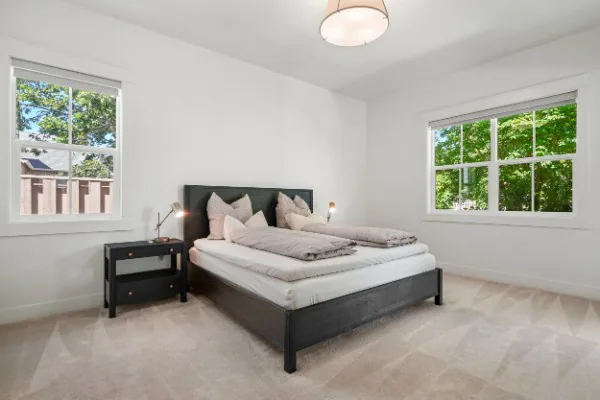
A prepared kitchen, primary suite, and lived-in home can still feel clear, welcoming, and easy for buyers to understand.
A Final Five-Minute Check
Walk through the home as if you were seeing it in an online gallery. Look for cars, bins, cords, personal photographs, pet items, open cabinets, uneven curtains, burned-out lights, and anything that distracts from the room itself.
Completing those steps before the appointment gives the photographer more time to create a clear visual record of the property.
Is the Home Ready for Photo Day?
Share the address and anything the photographer should know about the home. We can help you think through the coverage and media mix before the appointment.
This article reflects Realiant Photography’s June 25, 2026 newsletter. Confirm current services, availability, package details, and timing when booking.
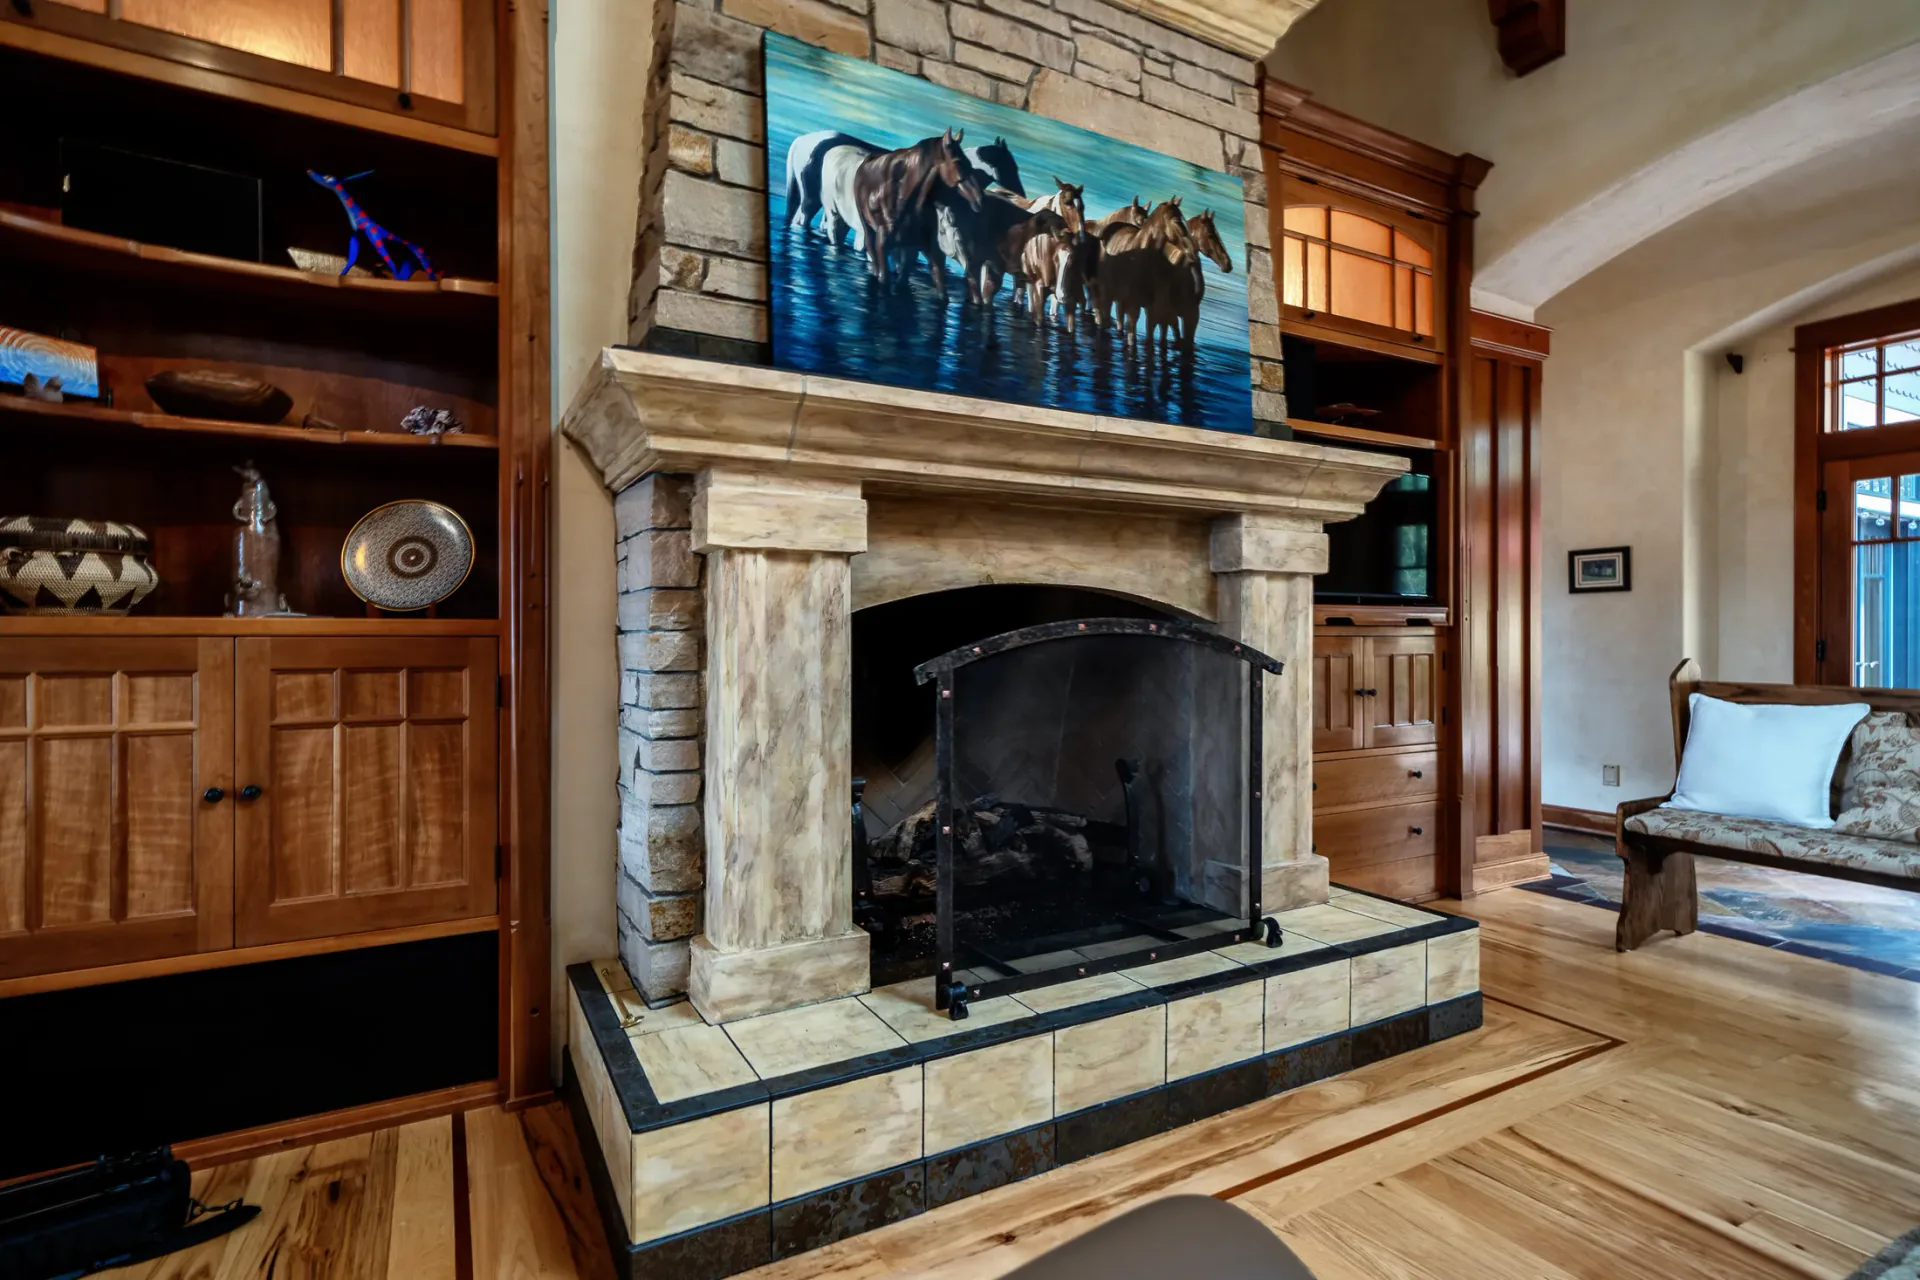
Media quality
What Makes Quality Real Estate Media
- Published
- TopicsPhotography, Video, Media planning
What to look for in the framing, light and details of a useful, consistent property gallery.
Read the Article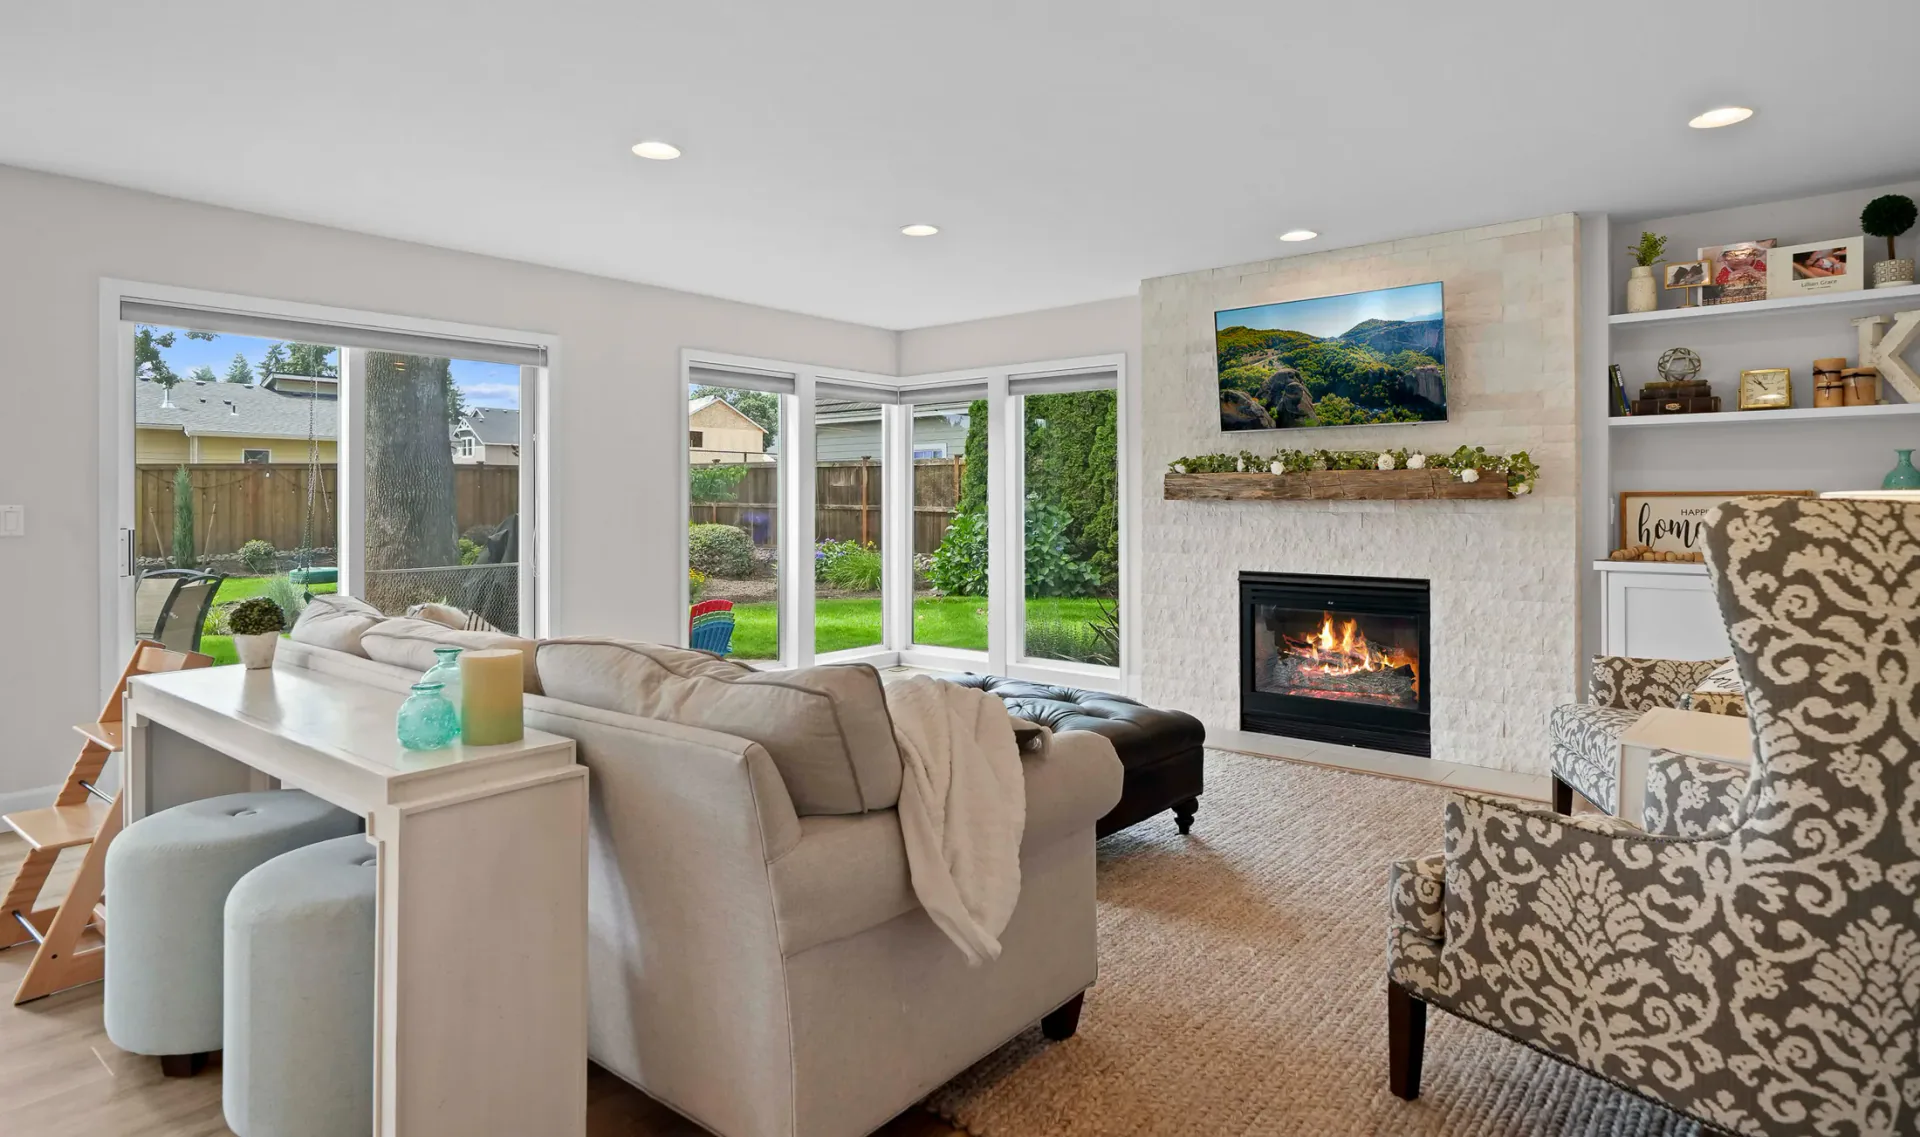
Listing media planning
Real Estate Listing Media Options
- Published
- TopicsMedia planning, Photography, Video, Drone
Match photos, video, plans, tours, and drone media to the property.
Read the Article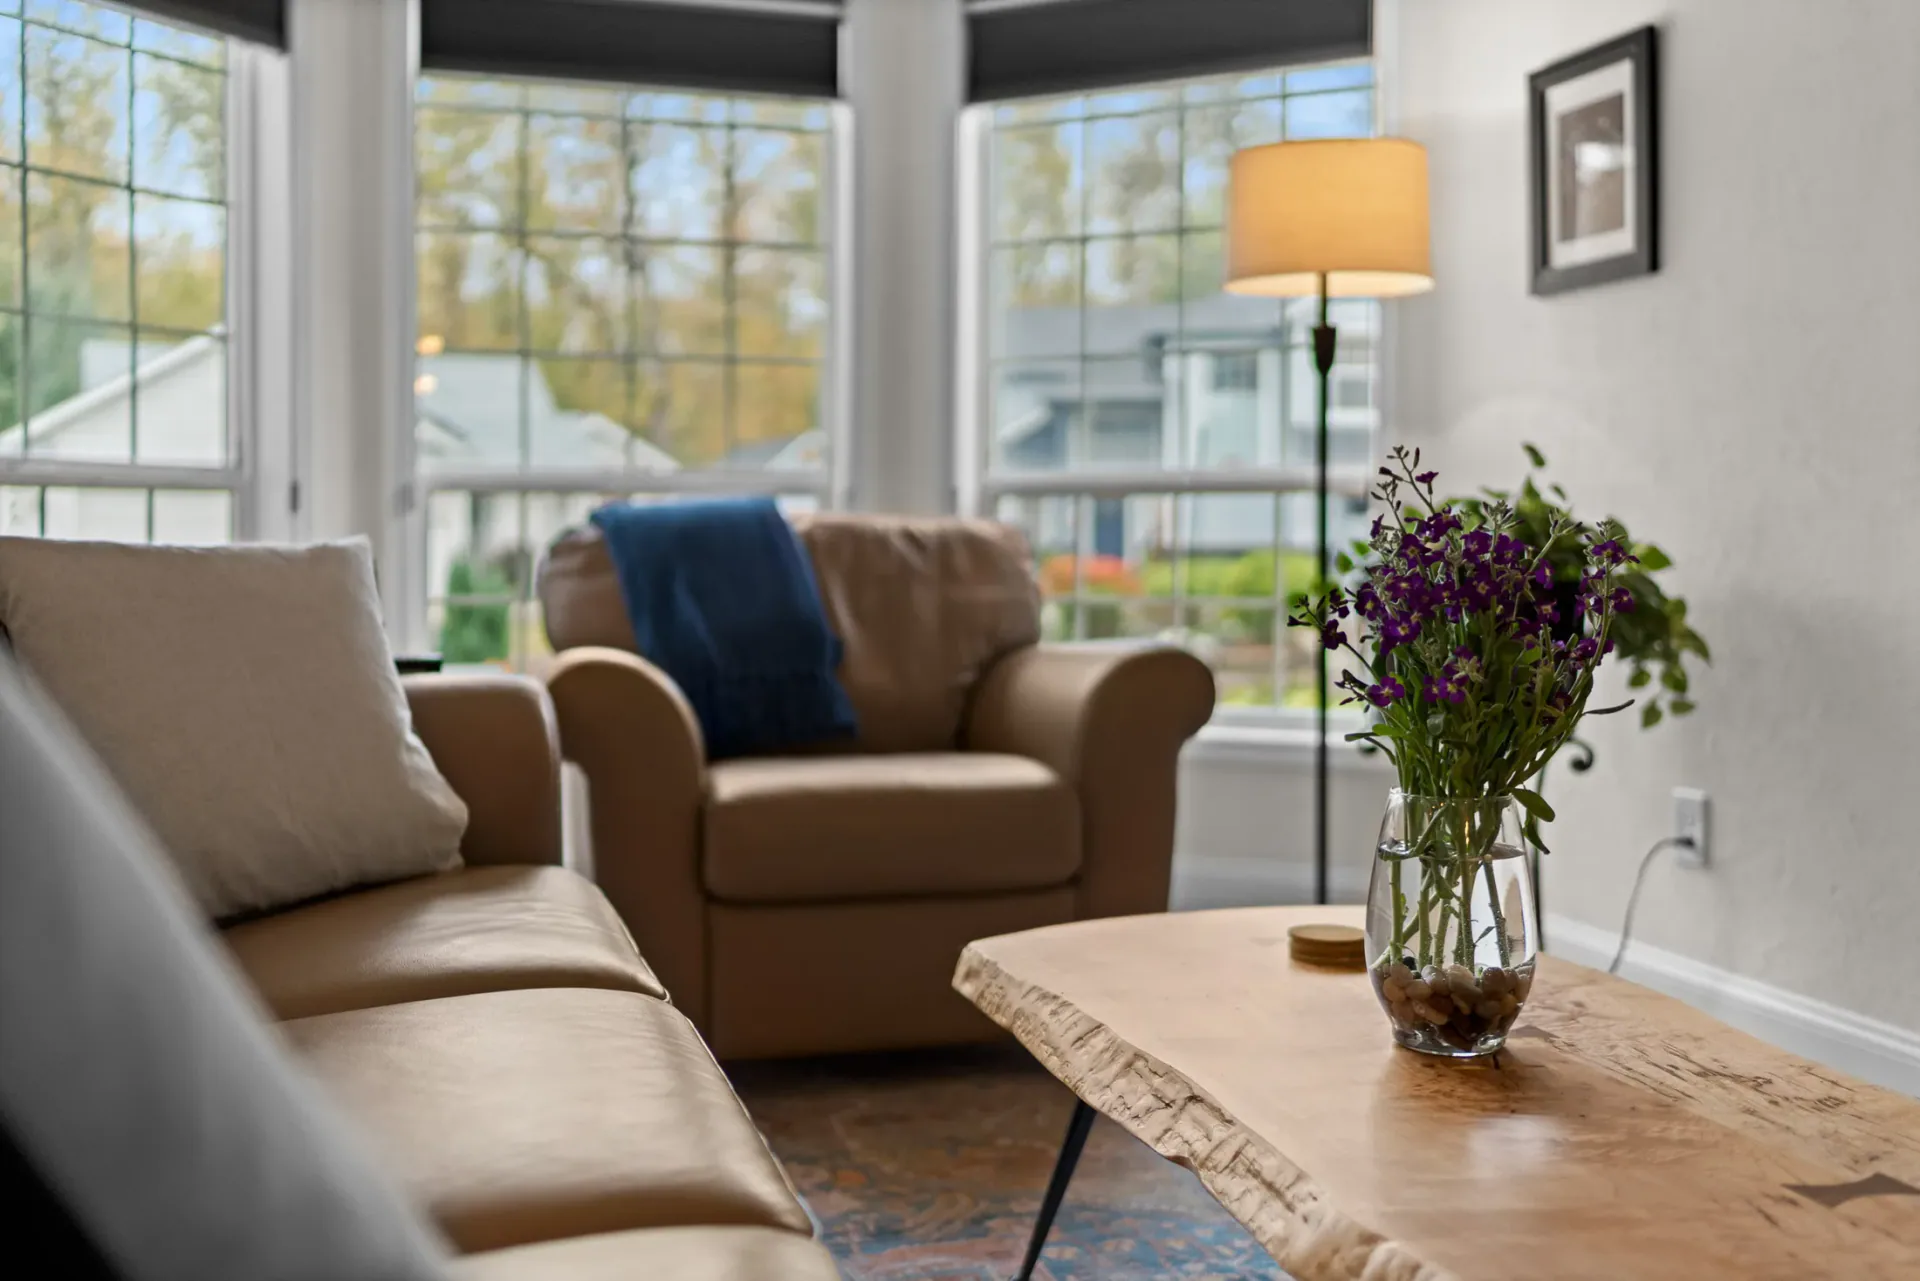
Vacation rental photography
Vacation Rental Photography: Show the Stay, Not Just the Space
- Published
- TopicsVacation rentals, Photography, Media planning
Vacation rental photos should show how the stay feels. See how wide views, bedding, games and amenity details help guests picture their visit.
Read the Article